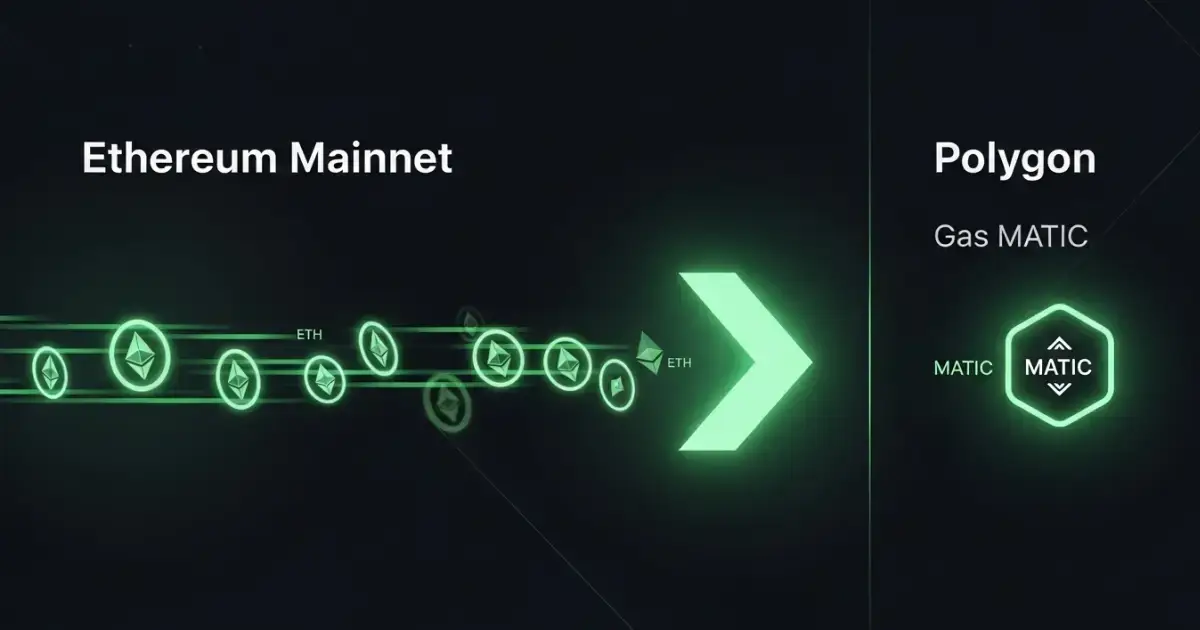
Moving ETH from Ethereum to Polygon can help users access lower transaction costs, faster confirmations, and a broader range of Polygon-based applications, including DeFi platforms, gaming ecosystems, and NFT marketplaces.
However, choosing the right bridge route is important. Different bridges use different security models, liquidity mechanisms, and settlement processes.
In this guide, you will learn how to bridge ETH using the official Polygon PoS Bridge and trusted third-party bridge solutions. You will also learn how to manage gas requirements, transfer assets back to Ethereum, and avoid common bridging mistakes.
How to Bridge ETH to Polygon: Understanding What a Bridge Does in Simple Terms

A cross-chain bridge allows users to transfer assets between different blockchain networks.
When bridging ETH from Ethereum to Polygon, the bridge coordinates the movement of value between the two networks. Depending on the bridge design, it may:
Lock assets on the source chain and release corresponding assets on the destination chain.
Mint a representation of the asset on the destination network.
Use liquidity pool to provide users with assets already available on the destination chain.
The exact mechanism depends on whether the bridge is a canonical bridge, liquidity bridge, or router-based solution.
Why Bridge ETH to Polygon?
Lower Fees and Faster Transactions
Ethereum provides strong security and decentralization but can experience higher transaction costs during periods of network congestion.
Polygon offers lower-cost transactions and faster confirmation times, making it suitable for activities such as:
Token swaps
DeFi applications
NFT transactions
Blockchain gaming
Access to the Polygon Ecosystem
Bridging ETH enables users to interact with applications built on Polygon, including decentralized exchanges, lending protocols, NFT platforms, and other Web3 applications.
Flexible Asset Movement
Users can move assets between Ethereum and Polygon depending on their needs.
For example:
Direction | Common Use Case |
|---|
Ethereum → Polygon | Access lower-cost applications and Polygon ecosystems |
Polygon → Ethereum | Return assets to Ethereum liquidity and applications |
Ethereum and Polygon Bridging Landscape in 2026
In 2026, bridge selection increasingly depends on several factors:
Factor | Why It Matters |
|---|
Security model | Determines how transactions are verified across networks |
Liquidity availability | Affects transfer speed and execution quality |
Transaction costs | Impacts the efficiency of smaller transfers |
Supported assets | Different bridges support different tokens and networks |
Finality mechanism | Determines when transfers are considered confirmed |
Users should evaluate these factors instead of choosing a bridge based only on transfer speed.
Before You Start: Quick Checklist

Before bridging ETH to Polygon, prepare the following:
Requirement | Purpose |
|---|
Compatible wallet | MetaMask, Rabby, Coinbase Wallet, or hardware wallet connection |
ETH on Ethereum | Required for the Ethereum transaction fee |
Supported asset | Confirm the bridge supports ETH or your selected token |
Network status | Check congestion and estimated transaction costs |
Correct destination address | The same wallet address can generally receive assets on Polygon |
Polygon gas token | Maintain sufficient native gas balance for transactions after bridging |
Official bridge source | Avoid phishing websites and fake bridge interfaces |
Polygon Gas Token Update
Polygon has introduced POL as part of its ecosystem upgrade from MATIC.
However, users should verify the current gas token requirements supported by their wallet, applications, and the specific Polygon network they are using.
Before interacting with Polygon applications:
Confirm the correct network is selected.
Check current wallet configuration.
Maintain enough native gas balance for transactions.
Gas requirements may change as blockchain networks continue to upgrade.
Step-by-Step ETH Bridge Using the Official Polygon PoS Bridge

This step by step guide will walk you through the bridging process using the official bridge specifically, the native Polygon Bridge via the Polygon Portal.The native Polygon Bridge provides a direct route for transferring ETH and supported ERC-20 tokens from Ethereum to Polygon. The process involves connecting your Web3 wallet, selecting the asset and network direction, confirming the transaction, and verifying the received assets on Polygon.
The Polygon Proof-of-Stake Bridge is available through Polygon’s official web application, Polygon Portal, and supports deposits of ETH and many ERC-20 tokens.
To begin bridging, connect your Web3 wallet, such as MetaMask, to Polygon Portal. Once connected, select the source network, destination network, and asset you want to transfer, then follow the instructions provided in the interface.
Estimated time:
Deposits typically complete after Ethereum transaction confirmations. Actual completion time depends on Ethereum network conditions.
Estimated costs:
The main cost is the Ethereum transaction fee required for the deposit. After receiving assets on Polygon, users may need a small amount of Polygon gas token for future transactions.
The official Polygon PoS Bridge is commonly used by users who prefer a native bridging route between Ethereum and Polygon PoS. Other bridge solutions are also available, including options within the broader Polygon ecosystem such as Polygon zkEVM.
Polygon zkEVM Bridging Consideration
Polygon zkEVM provides another Ethereum-compatible environment within the Polygon ecosystem. It uses zero-knowledge rollup technology and offers different transaction characteristics compared with Polygon PoS.
Users should consider factors such as supported applications, asset compatibility, transaction costs, and network requirements when selecting a bridging route.
Step 1: Connect Your Wallet
Visit the official Polygon Portal and select the bridge interface.
Click Connect Wallet and choose MetaMask or another supported Web3 wallet.
Approve the connection request.
Ensure your wallet network is set to Ethereum Mainnet before initiating the deposit.
Step 2: Select Assets and Network Direction
In the bridge interface, set From: Ethereum and To: Polygon PoS.
Enter the amount you want to bridge.
If you are using the bridge for the first time, consider starting with a small test transfer.
Step 3: Approve and Confirm
If the interface requests token approval, approve the transaction.
Note that ETH transfers generally do not require ERC-20 allowance approval, while ERC-20 tokens usually do.
Click Transfer or Bridge and confirm the transaction in MetaMask.
Select an appropriate gas fee based on current Ethereum network conditions.
Step 4: Wait for Confirmations
Monitor the transaction progress in Polygon Portal.
The deposit must receive confirmation on Ethereum before the bridge releases ETH on Polygon.
Once completed, the bridged ETH will appear in your Polygon wallet.
Step 5: Switch Network and Verify Balance
Switch your wallet network from Ethereum Mainnet to Polygon.
If Polygon is not already added, use the official network configuration:
Check your wallet balance to confirm the ETH transfer is complete.
Note: Polygon Gas Token Update: Polygon has introduced POL as part of its ecosystem transition from MATIC. Because wallet interfaces and applications may update at different speeds, users should verify the currently supported gas token before interacting with Polygon applications. Maintain a small native gas balance to complete transactions after bridging.
The ETH bridging process is now complete. You can use your bridged assets across Polygon-based applications, including DeFi platforms, NFT marketplaces, and other Web3 services.
How to Withdraw Back to Ethereum Using the PoS Bridge

Withdrawing assets from Polygon back to Ethereum follows a different process from depositing. When using the Polygon PoS Bridge, the withdrawal process requires two main steps:
Stage | Description |
|---|
Initiate withdrawal | Start the exit transaction on the Polygon network |
Finalize on Ethereum | Complete the claim transaction after checkpoint confirmation |
Unlike deposits, Polygon PoS withdrawals require an additional Ethereum finalization step after the checkpoint process is completed.
Withdrawal times depend on network conditions and checkpoint processing. Before starting a withdrawal, make sure you have:
Plan ahead if you need funds available on Ethereum within a specific timeframe.
Get Your First MATIC for Gas on Polygon

You cannot interact with Polygon applications without a small amount of the network’s native gas token.
MATIC and POL Compatibility Note
Polygon has introduced POL as part of its ecosystem upgrade from MATIC. Because wallets and applications may update their interfaces at different speeds, some platforms may still display MATIC-related references. Before completing transactions, verify the currently required gas token supported by your wallet and the Polygon network.
Common ways to obtain Polygon gas tokens include:
Transfer from an exchange: Many centralized exchanges support withdrawals directly to the Polygon network.
Purchase directly: Some wallets and platforms allow users to purchase gas tokens using fiat or other cryptocurrencies.
Bridge a small amount: Some bridge services support routes that provide native gas assets.
Receive from another wallet: Another Polygon user can send a small amount directly to your address.
Use an on-ramp service: Some wallets support direct purchases through card or bank payment methods.
Once you have enough gas balance, you can complete transactions such as swaps, staking, and other Polygon-based activities.
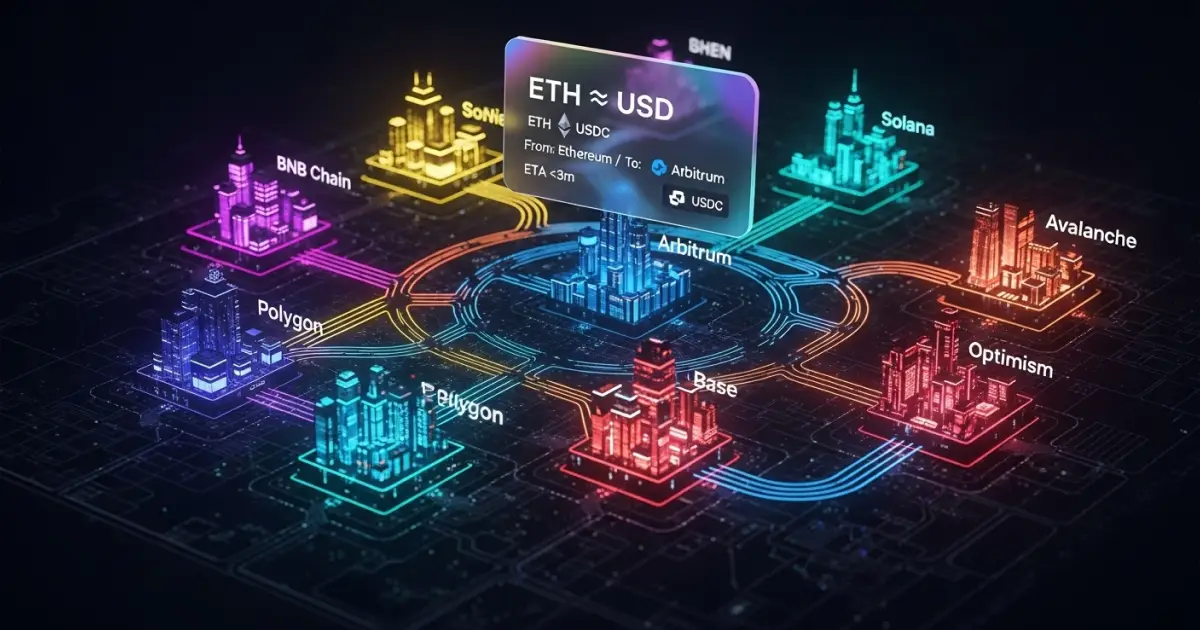
Alternative Bridges: Faster Routes and Routers

Third-party bridges can move ETH to Polygon faster by using liquidity pools and destination-chain inventory instead of relying on the same settlement process as canonical bridges.
These solutions can be useful when users prioritize speed, but they introduce additional considerations, including:
Security architecture
Liquidity availability
Supported assets
Transaction fees
Examples of bridge solutions and routing services include:
Hop and Across: Liquidity-based bridges that provide faster cross-chain transfers through destination-chain liquidity.
Stargate: A cross-chain liquidity infrastructure that enables transfers between supported networks.
LI.FI and Socket: Routing services that compare available bridge routes.
Supported networks, assets, and fees may change over time. Always verify the latest information through official sources before transferring funds.
How to Use a Third-Party Bridge
The exact interface varies between bridge providers, but the general process is similar:
Visit the official website of the bridge or router.
Connect your Web3 wallet.
Select Ethereum as the source network and Polygon as the destination network.
Choose ETH as the asset.
Review the transaction details, including:
Confirm the transaction.
Switch to Polygon and verify your balance.
Costs to Expect
The total cost of bridging ETH to Polygon depends on several factors:
Cost Component | Description |
|---|
Ethereum gas fee | Transaction fee required to initiate the bridge |
Bridge fee | Additional fee charged by some third-party bridges |
Polygon gas fee | Small transaction fee required after receiving assets |
Withdrawal cost | Fees required when moving assets back to Ethereum |
Ethereum gas fees are usually the largest cost component when bridging from Ethereum Mainnet, which is one reason users choose lower-cost networks such as Polygon for everyday transactions.
Tips to Reduce Costs
You can reduce unnecessary costs by:
Bridging during periods of lower Ethereum network activity.
Comparing available routes before larger transfers.
Avoiding unnecessary transactions for very small amounts.
Considering centralized exchange transfers when they are more cost-effective.
Bridge Route Selection Considerations
Different bridging methods involve trade-offs between speed, cost, security, and compatibility.
Factor | Consideration |
|---|
Security model | How cross-chain transactions are verified |
Speed | How quickly assets become available |
Cost | Network fees and bridge charges |
Compatibility | Supported assets and applications |
The best bridging option depends on your transfer requirements, preferred security model, and supported applications.
Security Checklist for Safe Bridging

Bridges are important blockchain infrastructure but remain common targets for phishing attacks and security risks.
Follow these practices before transferring assets:
Use official bridge websites and saved bookmarks.
Verify the source network, destination network, token type, and wallet address.
Test with a small amount before making larger transfers.
Use hardware wallets when possible.
Review token approval permissions before signing transactions.
Revoke unused approvals when appropriate.
Check transaction details, fees, and expected output before confirmation.
Avoid urgent prompts, fake airdrops, and suspicious links.
Bridge Security Evaluation Factors
When evaluating a bridge, transaction speed should not be the only consideration.
Factor | Why It Matters |
|---|
Security architecture | Determines how cross-chain transactions are validated |
Smart contract history | Helps evaluate technical risks |
Liquidity availability | Affects transfer reliability and execution |
Transparency | Provides visibility into bridge operations |
Troubleshooting: Fix Common Issues
Bridge transactions may occasionally experience delays or display issues due to network congestion, wallet settings, or transaction status updates. The following solutions can help resolve common problems.
My bridge transaction is pending for a long time
Possible solutions:
Check the transaction status on a blockchain explorer such as Etherscan or Polygonscan.
If the transaction is still pending on Ethereum, review the gas fee and consider using the wallet’s speed-up option if available.
Avoid submitting multiple bridge transactions for the same transfer unless the original transaction has failed.
The bridge says complete, but I do not see funds on Polygon
Try the following steps:
Switch your wallet network to Polygon.
Confirm that you are viewing the correct wallet address.
Add the bridged ETH asset manually if it is not displayed automatically.
Check your balance through Polygonscan.
Wallet interfaces may not always display newly bridged assets immediately, even when the transaction has completed successfully.
I started a withdrawal and I cannot claim yet
Polygon PoS withdrawals require checkpoint confirmation before the final claim transaction becomes available.
If the claim option is not available:
Wait until the checkpoint process is completed.
Check the withdrawal status in the bridge interface.
Make sure you have enough ETH on Ethereum to complete the finalization transaction.
I bridged to the wrong address
If the destination address belongs to you:
If the assets were sent to an unrelated address:
Always verify the destination address before confirming a bridge transaction.
When to Use a Centralized Exchange Instead of a Bridge
A centralized exchange (CEX) transfer can sometimes be a simpler and more cost-effective alternative to an on-chain bridge, especially for smaller transfers.
For example:
Deposit ETH into a centralized exchange like Bitunix.
Withdraw ETH or supported assets through the Polygon network.
Receive the assets directly in your Polygon wallet.
This approach may reduce the need to pay Ethereum gas fees for a separate bridge transaction. However, centralized exchanges introduce custodial considerations because the platform temporarily controls the assets during the transfer process.
When choosing between a CEX transfer and an on-chain bridge, consider:
Option | Suitable For | Main Consideration |
|---|
Blockchain bridge | Users who prefer direct wallet-to-wallet transfers | Requires understanding bridge security and fees |
Centralized exchange transfer | Smaller transfers or users seeking convenience | Requires trust in the exchange’s security |
Example Workflows
Quick DeFi Setup on Polygon
A typical workflow for accessing Polygon-based applications may look like:
Bridge ETH from Ethereum to Polygon using a suitable bridge route.
Obtain a small amount of Polygon gas token for transaction fees.
Swap part of your assets if additional tokens are needed.
Start using Polygon applications.
Returning Assets to Ethereum
When moving assets back to Ethereum:
Convert remaining Polygon assets if necessary.
Choose a suitable withdrawal route.
Complete the withdrawal process and Ethereum finalization step.
Keep enough gas balance for future transactions.
Choosing a Bridge Workflow Based on User Needs
Different users may prioritize different factors when moving assets between Ethereum and Polygon.
User Goal | Possible Approach |
|---|
Lower transaction costs | Use Polygon-based applications after bridging |
Faster transfer completion | Consider liquidity-based bridge routes |
Maximum native compatibility | Use the Polygon PoS Bridge |
Simple asset movement | Consider centralized exchange transfers |
Quick Comparison of Bridge Types

The most suitable option depends on factors such as transfer size, urgency, supported assets, and preferred security model.
Final Tips for Smooth Ethereum to Polygon transfer
To complete an Ethereum to Polygon transfer smoothly:
Keep enough ETH on Ethereum to cover future transactions or withdrawal finalization.
Maintain a small amount of Polygon gas token for network fees.
Bookmark official bridge websites to avoid phishing attempts.
Test with a small transfer before moving larger amounts.
Track bridge transactions through blockchain explorers such as Etherscan and Polygonscan.
Verify token contracts and wallet addresses before confirming transactions.
You now know exactly how to bridge ETH to Polygon, how to choose the best route for your needs, and how to avoid the common pitfalls. With low fees, a mature app ecosystem, and flexible exits back to Ethereum, Polygon is an excellent network for everyday DeFi use.
Long-Term Bridge Management Considerations
For users who frequently move assets between Ethereum and Polygon, maintaining good operational habits can reduce unnecessary risks.
Consider:
Keeping separate wallets for testing and larger holdings.
Reviewing token approvals periodically.
Monitoring bridge updates and supported network changes.
Recording transaction history for portfolio tracking and accounting purposes.